On this day in 1941, HMAS Sydney (II) was lost with all hands following battle with the German Auxiliary Cruiser Kormoran over 100 nautical miles from Dirk Hartog Island, off the coast of Western Australia.
One of three modified Leander Class Light Cruisers, HMAS Sydney (II) was originally laid down as HMS Phaeton in July 1933 at Swan, Hunter and Wigham Richardson at Wallsend-on-Tyne in England. The following year she was purchased by the Australian Government, renamed Sydney and officially launched in September 1934 by Mrs Bruce, the wife of the Australian High Commissioner, Mr Stanley Bruce MC.
Commissioned in 1935 she was much larger than her predecessor (HMAS Sydney (I)) with an overall length of 555 feet, a beam of over 56 feet and a standard displacement of 7250 tons. Her main armament consisted of eight 6-inch guns, housed in four twin turrets.

Following the declaration of war in September 1939 the Australian Government placed the Royal Australian Navy (RAN) at the disposal of the British Government. Based in Fremantle, HMAS Sydney (II) spent the remainder of 1939 and first half of 1940 conducting patrol work in the Indian Ocean before departing for the Mediterranean in May to join the Seventh Cruiser Squadron.
There she participated in various patrols and bombarded Bardia in June. In July she took part in the battles of Calabria and Cape Spada.
In the latter action the crew were praised by the Commander in Chief, Admiral Cunningham in his dispatch to the Admiralty after the action:
The credit for this successful and gallant action belongs mainly to Captain J.A. Collins, C.B., R.A.N., who by his quick appreciation of the situation, offensive spirit and resolute handling of H.M.A.S. Sydney, achieved a victory over a superior force which has had important strategical effects. It is significant that, so far as is known, no Italian surface forces have returned into or near the Aegean since this action was fought.
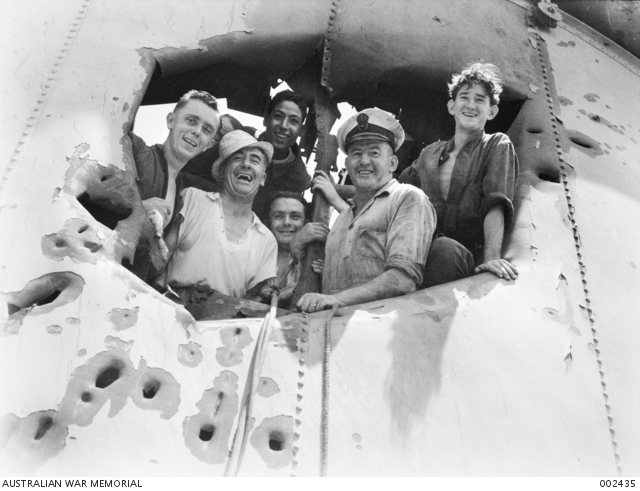
Throughout the remainder of 1940 HMAS Sydney (II) participated in further patrols, anti-submarine sweeps, convoy escort duties and shore bombardments in the Mediterranean and Adriatic before she received orders to return to Australia in January 1941 arriving in Fremantle on 5 February. On arrival in her namesake later that month she was met by large crowds to welcome her home. Over the next five months she conducted patrols and convoy escort and re-supply duties as far afield as the Indian Ocean, New Zealand and Noumea.
Meanwhile in the Indian Ocean reports of spurious wireless signals coupled with the unexplained disappearance of several merchant ships raised concerns that their could be a German raider at large. The German Navy’s largest auxiliary cruiser, the Kormoran, (shown below), disguised as the Dutch merchant ship MV Straat Malakka, had entered the Indian Ocean some months previously and was making her presence felt throughout the region.

In early September 1941, HMAS Sydney (II) left Sydney Harbour for what fatefully would be the final time, escorting the convoy US 12B to Fremantle and then Java in Indonesia. In November HMAS Sydney (II) conducted another ‘milk run’ to Indonesia, this time escorting the troopship Zealandia, which was en route to Singapore.
Returning from convoy duties to Java, HMAS Sydney (II) was proceeding south along the north west coast of Western Australia when she sighted what appeared to be a merchant vessel at about 4pm on 19 November 1941, some 130 miles west of Shark Bay (see map below). The vessel was in fact the Kormoran.

With her main armament trained on the mysterious ship HMAS Sydney (II) challenged the vessel using her searchlight whilst at the same time closing the range between the two ships. By 5.15pm she has almost abeam to starboard less than a mile away from Kormoran steaming West South West at 15 knots.
On being challenged the Kormoran signalled that it was bound for Batavia (current day Jakarta). Unable to respond to HMAS Sydney (II)’s two flag signal and with the advantage of surprise, Kormoran opened fire at approximately 5.30pm with all armament at a range of over a mile.
The first salvo probably destroyed HMAS Sydney (II)’s bridge, resulting in loss of control was immediately put out of action. Sydney’s own guns opened fire almost simultaneously with a full salvo that passed over the top of Kormoran. Two further salvo’s from the Kormoran scored hits on Sydney’s bridge and midships. One of two German torpedoes also struck HMAS Sydney (II) under ‘A’ and ‘B’ turrets.
With her bow low in the water, HMAS Sydney (II) then turned sharply towards Kormoran as though attempting to ram, before passing under Kormoran’s stern, heading south.
Maintaining her course and speed, Kormoran was now on fire in the engine room which continued to engage with HMAS Sydney (II) as the range opened to over two (2) nautical miles. By now crippled and on fire from the bridge to the after funnel, HMAS Sydney (II) steamed slowly to the south returning only sporadic fire from her secondary armament. Although by now the range had opened to over 3 nautical miles HMAS Sydney (II) continued to receive steady hits from Kormoran.
Although the action had lasted only half an hour both ships had been dealt mortal blows. Until about 10pm, all that was seen from Kormoran was a distant glare then occasional flickerings until midnight at which time all trace of HMAS Sydney (II) disappeared. The order to abandon ship for Kormoran was given after 8pm and at 12.35am the following day Kormoran sank.
Of HMAS Sydney (II)’s total complement of 42 officers and 603 ratings, none survived. The only material evidence recovered was a Carley life float an Australian naval pattern lifebelt.
In August 2007 the Australian Federal Government provided $4.2 million of funding to engage a civilian organisation to search for HMAS Sydney (II). On 12 March 2008 the wreck of the Kormoran was identified and four days later on Sunday 16 March 2008 the wreck of HMAS Sydney (II) was found at a depth of 2,500 metres.

What had been described as Australia’s most enduring maritime mystery had been solved.
